

Self-signed certificates may not enjoy the trust of browsers and are unsuitable for live sites, but they hold significant utility in testing or intranet environments. You can create a self-signed certificate using OpenSSL. It’s a quick and free process. All you have to do is run a few commands.
This guide will show you how to generate a self-signed certificate using OpenSSL in Windows, Linux, and Mac operating systems. The approach is the same, regardless of the OS you use. So, let’s get started!
How to Create a Self-Signed Certificate
Before we discuss the technical aspects, let’s understand the concept of self-signed certificates. A self-signed certificate is a digital certificate signed by its creator rather than a trusted certificate authority (CA). While not supported by external entities, self-signed certificates are useful for internal use, such as testing, development, or personal servers.
As a prerequisite, make sure you have OpenSSL installed on your system. Most Linux distributions come with OpenSSL pre-installed. Windows users can download and install OpenSSL by following our installation instructions. To install OpenSSL on a Mac, you can use the Homebrew package manager by running “brew install openssl”.
Step 1: Open Terminal or Command Prompt
First, open your terminal or command prompt. On Linux and Mac, you can find it in the Applications or Utilities folder. On Windows, search for “Command Prompt” in the Start menu.

Step 2: Navigate to the OpenSSL Directory (Optional)
If OpenSSL is not in your system’s PATH, navigate to the directory where OpenSSL is installed using the cd command. For example:
cd /path/to/openssl
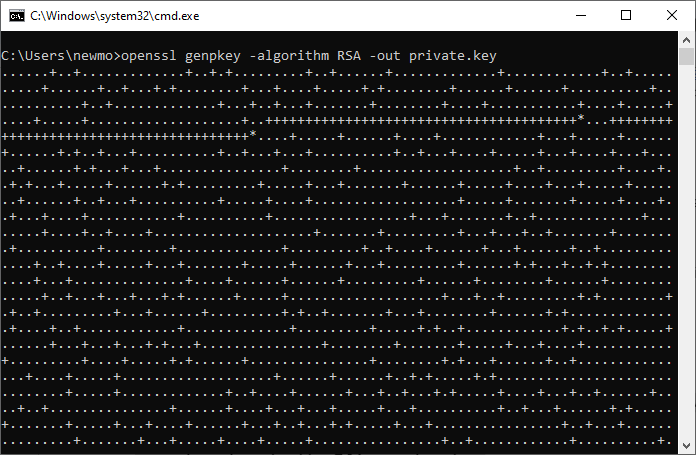
Step 3: Generate the Private Key
The first step is to generate a private key using OpenSSL. Execute the command below. Replace private.key with your desired filename.
openssl genpkey -algorithm RSA -out private.key
Step 4. Generate the Certificate Signing Request (CSR)
Next, generate a CSR using the private key. The CSR is a text block with contact information about your domain and company.
openssl req -new -key private.key -out csr.pem
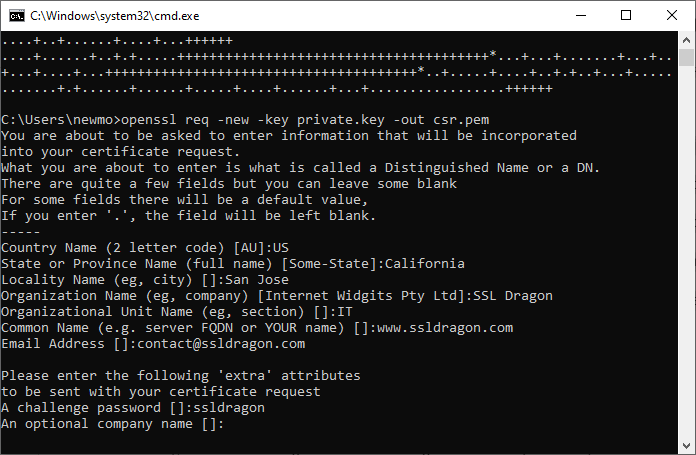
Follow the prompts to provide necessary information such as country, state, organization, etc. Enter your own name, website, and information. The details below are only for example purposes.
- Country Name: Enter the two-letter code of your country. For instance, US
- State or Province Name: Type the name of the state where your organization is officially registered. For example, California
- Locality Name: Enter the locality or city name where your company resides: For example, San Jose
- Organization Name: Specify the official name of your organization: For instance, SSL Dragon
- Organizational Unit Name: Enter the unit name within your organization responsible for managing SSL certificates. For example, IT
- Common Name: Enter the Fully Qualified Domain Name (FQDN) you want to secure or your name. For instance, ssldragon.com
- Email Address: [email protected]
- A challenge password: yourpassword
- An optional company name: you may leave it blank
Step 5. Generate Self-Signed Certificate
Finally, create the self-signed certificate using the CSR and private key:
openssl req -x509 -days 365 -key private.key -in csr.pem -out certificate.crt
This command creates a self-signed certificate valid for 365 days. You can adjust the validity period as needed.
After running the command to generate the self-signed certificate using OpenSSL, the certificate file will be created in the directory where you executed the command.
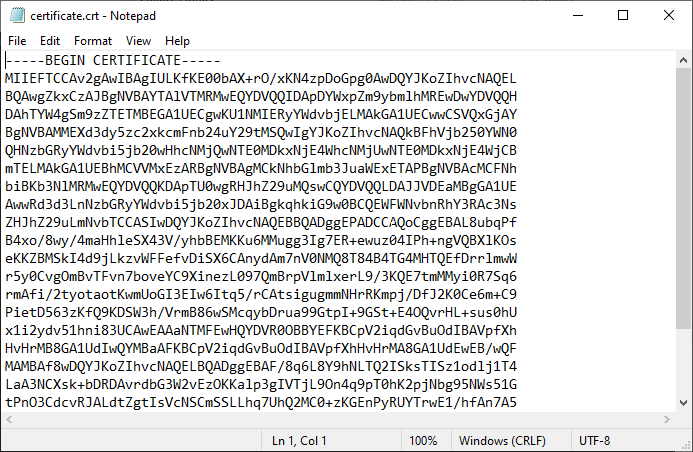
In this command, the output flag -out certificate.crt specifies the name of the certificate file, which is certificate.crt. So, to find the generated certificate, you can look in the same directory where you were working when you ran the OpenSSL command. Alternatively, if you specified a different path for the output file, you would find the certificate at that specified location.
Post-Certificate Generation Considerations
Once you’ve generated your self-signed certificate, there are a few considerations to keep in mind:
- Certificate Installation: After generating the certificate, you must install it on your server or service. The installation process varies depending on your application or server software. For example, with Apache, you’d typically update the SSL configuration file to point to the certificate files.
- Certificate Renewal: Self-signed certificates have an expiration date, typically set during the generation process. It’s essential to keep track of certificate expiration dates and renew them before they expire to avoid service disruptions.
- Certificate Trust: Unlike certificates issued by trusted certificate authorities, self-signed certificates are not automatically trusted by web browsers or email clients. Users accessing services secured with self-signed certificates may encounter warning messages prompting them to confirm the security exception. That’s why self-signed are suitable for development purposes and not live production.
Bottom Line
In this guide, we’ve explained how to generate a self-signed certificate using OpenSSL. The steps and command lines are identical whether you create a self-signed certificate in Linux or Windows.
We’ve also discussed post-certificate generation considerations to ensure smooth implementation and operation. While self-signed certificates are valuable for internal purposes, remember to get trusted SSL Certificates for production environments where third-party validation is required.
Save 10% on SSL Certificates when ordering today!
Fast issuance, strong encryption, 99.99% browser trust, dedicated support, and 25-day money-back guarantee. Coupon code: SAVE10
